Introduction
This is the third vRO deep dive series and in this blog post, it will be discussing presentation layer. Before starting, I recommend you to read previous 2 blogs:
Presentation Layer
What is presentation layer? Presentation layer is where you structure and apply logics to inputs. The modified structure and logics will be represented to users who run the workflow. Let’s recap last series’ example. The workflow had 2 inputs defined:
- VM
- Cluster
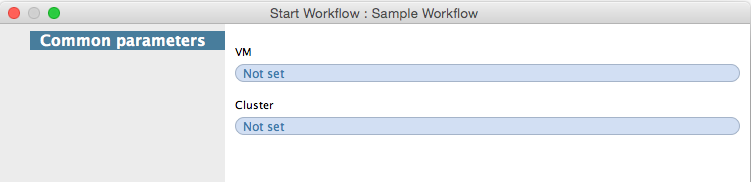
Executing the workflow shows you 2 inputs:
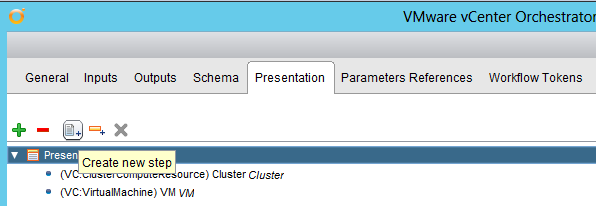
So where do I re-configure presentation layer? Edit the workflow above, “Sample Workflow” and on the 5th tab, you will see Presentation:

In this Presentation tab, there are five options available listed below:
- Expand All
- Collapse All
- Create New Step
- Create Display Group
- Delete
Using the workflow above, I will first be going through creating & configuring step.
Step
In the presentation layer, step could be created to allow end-users to give inputs in multiple steps. Think it as a survey, rather than asking all questions in 1 page, survey normally separates out questions in multiple pages. Step is literally the same thing.
Let’s create a step. Edit the workflow, select Presentation and click “Create new step”:
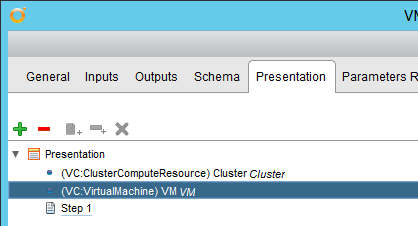
And re-name it to “Step 1” by double clicking it:

Save the change made and close the window. Run the workflow and you will see a new step created:

Click Next and you will be at “Step 1”:

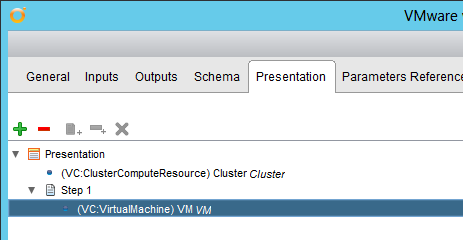
“Step 1” has nothing shown as there are no inputs mapped to it. Let’s allocate an input to it, go back to Presentation tab and drag VM into “Step 1”:
Execute the workflow and in Step 1, it will for VM:

Rather than Common parameters above, it would be better to call it Step 1 and then Step 2. Go back to the Presentation tab and create one more step:

Running the workflow, it will show you 2 separate steps:


This is the way of creating multiple steps and assigning values. I will now start discussing display group.
Display Group
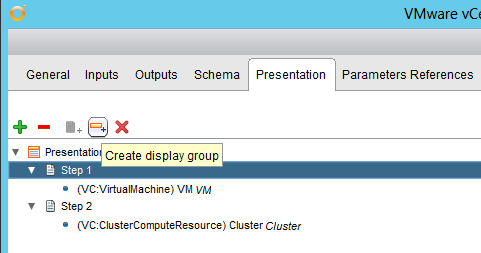
Display group is where you could define multiple steps within a step. It sounds a bit confusing but it’s actually quite simple, go back to the workflow, select Step 1 and click Create display group:

Drag VM into Group 1:

Run the workflow and you will see within the Step 1, there is another step called Group 1:

This time, let’s put 2 inputs VM and Cluster into this group. Drag both inputs to Group 1 and delete Step 2:

Executing the workflow, it will show you Group 1 now asks for 2 inputs:

This time, let’s create 2 groups within a step. Select Step 1, create display group and drag Cluster into the second group:

Run the workflow and you will now see two groups in a single step:


One thing to note is that the display group could only be created within a step, i.e. display group in a display group isn’t possible.
Moving on to properties.
Properties
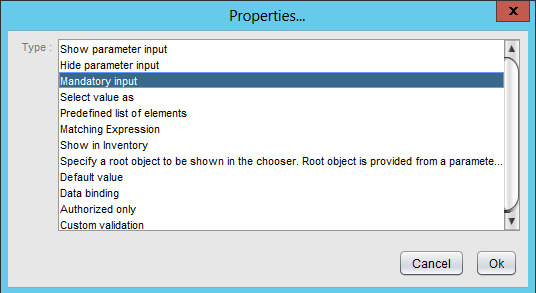
Properties is where you could apply logics to inputs. For instance, you could make an input as a mandatory field that the user must put it in order to submit the request. Let’s try this out, go back to Presentation tab, select VM input and on the bottom, click Add Property:

You will see the full list of properties you can apply to this input. Select Mandatory input and click OK:
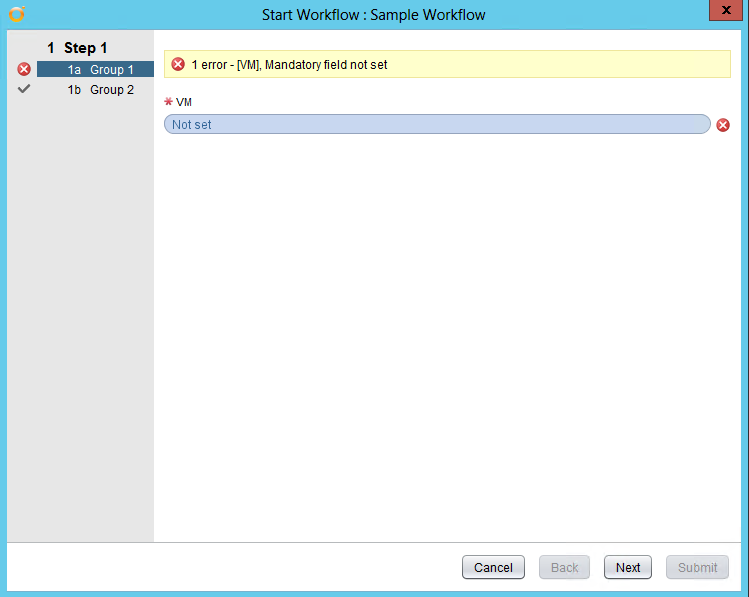
Save the workflow and run it. Unlike before, you won’t be able to proceed without defining a cluster value, Submit button will be greyed out:

Instead of using a scriptable task within a workflow to ensure the input is given by user or trying to match it against a regular expression…etc, this is the simpler way.
Next exercise will go through how to predefine list of values, i.e. user will only be able to select a value from the predefined elements. Go back to Presentation, click on the cluster input, click Add property and select Predefined list of elements:

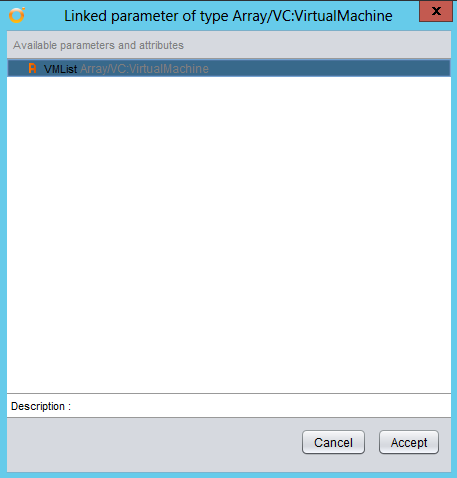
Click on the pencil button:

Wait a minute, there is no parameter available. Why? It’s obvious that we haven’t created any attributes with pre-defined values. Take a close look at the heading of the window “Linked parameter of type Array/VC:VirtualMachine”. This is because the input is defined as VC:VirtualMachine object and since we are trying to predefine values, the final object should be Array/VC:VirtualMachine.

Let’s create an attribute. Go to General tab and Add an attribute called VMList with Array of VC:VirtualMachine:

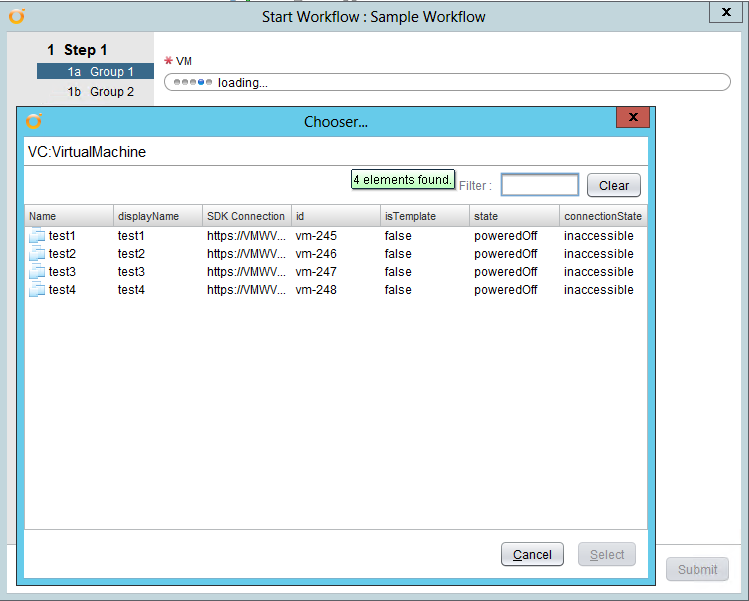
Once created, click on Not set to insert values. In my case, I pre-defined 4 values:
- test1
- test2
- test3
- test4


Go back to Presentation tab and click property of VM. You will now see VMList:
Accept it and run the workflow. Select VM and now it will have predefined list:
There are a lot of properties you could play around with, spend some time adding different properties to input values.
Wrap-Up
Hope this blog post was helpful and the next series will cover “Log Handling, Throwing Exceptions and Fail-back”. Stay tuned 😀

I’m appreciate for your sharing. I’m able to create decommission workflow by reading these posts. It’s greatest articles I read for vRO newbie! Please keep up, I’d like to see deeper tech of vRO! 🙂
Thanks Wu, glad it helped 🙂
Next series will be up in the next few days, keep an eye!
Great artice for a beginner like me!!!would be great if you u can resolve my query. Im looking for an option to push a BMC BSA job from VRO without using SA plugin. Is there any option to run the nsh script?how would i do that?
Hi Manu,
I have no experience with BMC BSA job so, if you could provide more details like where you want to run nsh script from …etc, I will be able to help out.
Looking forward to speaking with you soon!
Regards,
Steven.
hi Steven,
first of all I would say these are great articles for beginners like me and thanks for that.
I am working on creating workflows where in I want to fetch the settings of third party tool using REST calls and based on these settings, want to enable/disable/set default values to inputs but I am not getting how/where I can preserve these fetched settings values(kind of Map, key values), so that I can use them in work flow presentation to control the inputs, please let me know you have any clue to do that.
appreciate your help.
Thanks